
Table of contents: Checking the power supply ↓ Checking the controls ↓
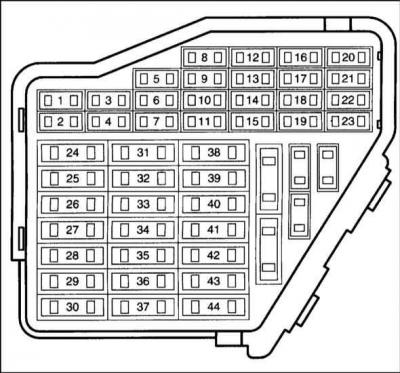
The fuel pump relay is located on the relay board, location 4, on the driver's side under the instrument cluster. It should be checked if the pump does not work.
1. Remove fuel pump fuse #28.
2. Connect a LED test lamp using an auxiliary wire between ground and one of the two terminals of the fuel pump fuse.
3. Remove the upper trim in the driver's footwell area, left, referring to the subsection Removal and installation the pocket on the driver's side.
4. Turn on the starter. The fuel pump relay should be audible. In addition, the LED indicator lamp should light.
5. If the relay does not turn on, check the supply voltage and control.
6. If the LED indicator lamp does not light, although the relay is switched on, repeat the test on the other fuse contact.
7. If the LED indicator lamp does not light again, check the wire between contact 23 at the relay, location 4, and the fuel pump fuse. If there is a break, fix it.
8. If the relay power, control and relay wires are OK, replace the fuel pump relay.
Checking the power supply
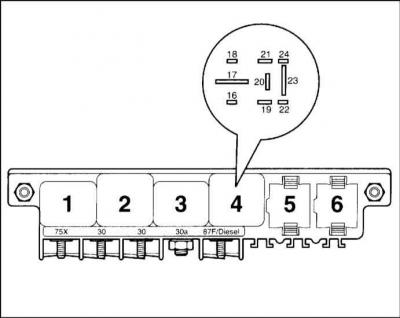
Remove the fuel pump relay from the relay board (relay location #4).
Turn on the ignition.
Connect the voltmeter in series:
- between contact 19 (ignition switch plus) and mass;
- between contact 17 (plus battery) and mass.
Required value: 12V (battery voltage).
Otherwise, check the wire break according to the electrical diagram and fix it.
Turn off the ignition.
Checking the controls
1. Connect the LED test lamp with the auxiliary wire between contact 16 (control mass from engine control unit) and contact 17 (plus) of the relay base.
2. Turn on the starter. The LED should light up. Otherwise, find the break in the wire to the injection control unit and fix it or replace the control unit (work of the service station).
Warning: LED indicator lights have a low current consumption. If the starter is not turned on, they glow weakly and do not go out completely.
3. Insert the fuel pump fuse.
4. Install the pocket in the area of the legs, while referring to the subsection Removal and installation the pocket on the driver's side.