
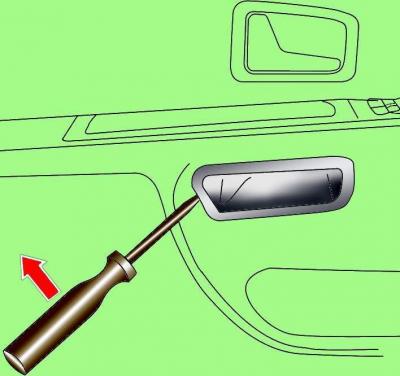
Fig. 18–59. Using a screwdriver to separate the base of the interior door handle from the door trim
Using a screwdriver blade as a lever, pry the base of the interior door handle away from the door trim and remove it (see Fig. 18–59).
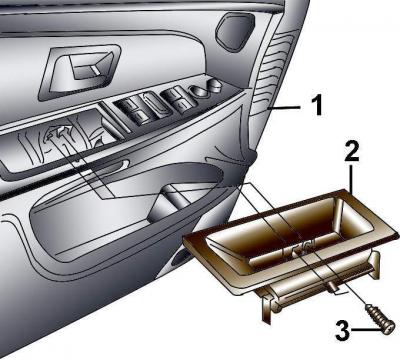
Fig. 18–60. Location of screws (3) for fastening the upper section of the trim (2) with switches to the door trim (1)
Through the opened hole, unscrew the two screws securing the upper section of the switch panel (see Fig. 18–60).
Lift the rear of the upper section of the switch trim and pull it back to remove the front section from the door trim. Disconnect the electrical connectors from the switches.
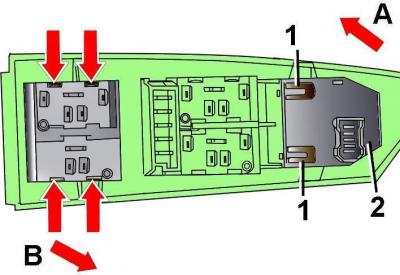
Fig. 18–61. Location of the fasteners (1) and the direction (A) of removal of the switch (2) for adjusting the mirror position. Left: Location of the four fasteners (arrows) and the direction of removal (B) of the window lift switches
Using a small screwdriver, release the four switch mounting clips shown by the arrows in Fig. 18–61 while simultaneously pressing the switch in the direction of the arrow IN, and remove the switch.
Installation is carried out in the reverse order of removal.
[The article was copied from the website: AudiManual.ru]